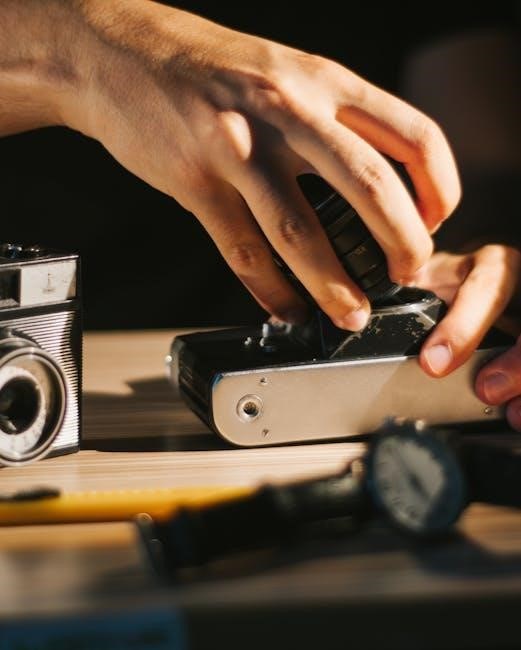
Manual lens adjustment involves using the focus, aperture, and zoom rings to control light and clarity, offering creative precision and understanding of lens mechanics for better photography․
Understanding the Basics of Manual Lens Adjustment
Manual lens adjustment is a fundamental skill in photography, allowing precise control over focus, aperture, and zoom․ By using the focus ring, you can manually adjust the in-focus area, ensuring your subject stands out․ The aperture ring controls light exposure, while the zoom ring adjusts the focal length for framing․ This method provides creative freedom, especially in challenging lighting or unique compositions․ Understanding these basic adjustments enhances your ability to capture images with intentional clarity and artistry, making manual control an essential tool for photographers․

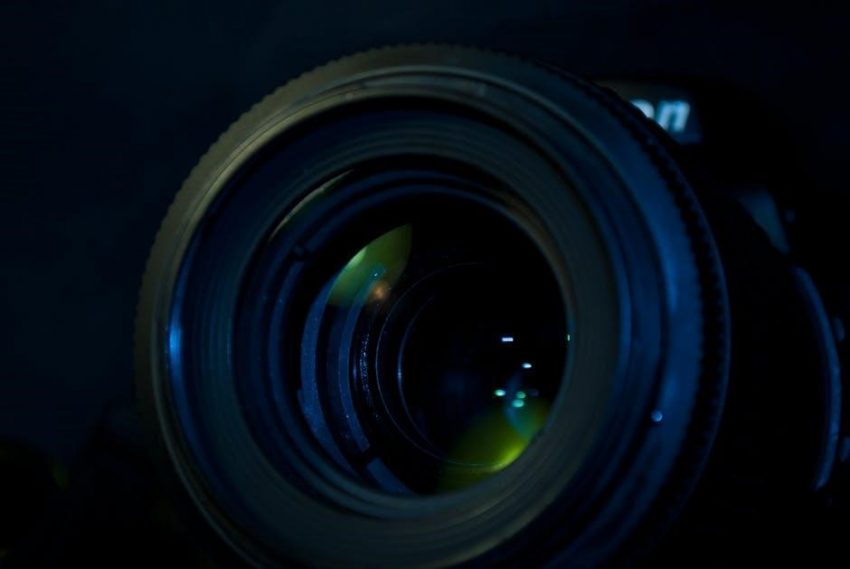
Key Components of a Camera Lens
A camera lens features essential parts like the focus ring, aperture ring, zoom ring, lens hood, and O․I․S․ switch, each playing a crucial role in image capture and quality․
Focus Ring: Its Role in Manual Adjustment
The focus ring is a wide, textured ring on the lens used to manually adjust the focus․ By rotating it, you move the lens elements to bring subjects into sharp clarity․ This allows precise control over the in-focus area, essential for creative photography․ The ring’s design varies, with some lenses offering electronic focus or infinity mechanisms․ Proper use ensures images are crisp and detailed, making it a fundamental tool for photographers seeking manual control over their shots․
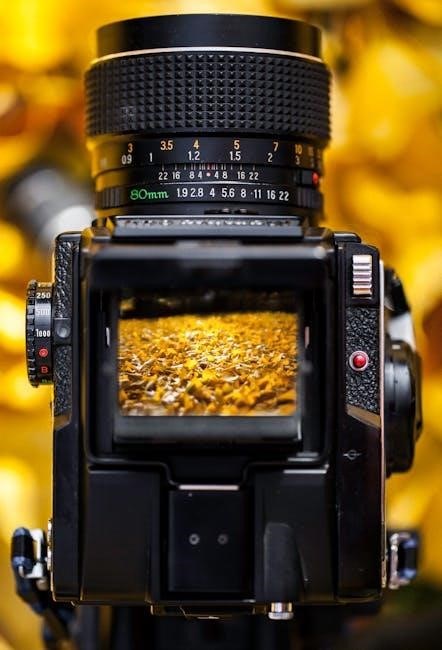
Aperture Ring: Controlling Light Exposure
The aperture ring adjusts the lens opening, regulating light entry․ It controls f-stops, with lower values for more light and higher values for less․ This affects depth of field, blurring backgrounds at wide apertures․ Proper use balances exposure and artistic effects, making it key for photographers to master lighting and composition in their images․
Zoom Ring: Adjusting Focal Length
The zoom ring allows photographers to adjust the focal length of the lens, altering the angle of view and composition․ Turning the ring moves internal lens elements, enabling smooth transitions between wide-angle and telephoto perspectives․ This feature is invaluable for framing shots without changing lenses, offering flexibility in various shooting scenarios․ Mastering the zoom ring enhances creative control, allowing precise adjustments to capture the desired scene dynamics effectively․ Proper use ensures sharp images and optimal framing in both still photography and video recording situations․
Other Lens Components: Hood, Mounting Marks, and O․I․S․ Switch
The lens hood reduces glare and lens flare by blocking stray light․ Mounting marks guide lens alignment with the camera mount for secure attachment․ The O․I․S․ (Optical Image Stabilization) switch enables or disables stabilization, minimizing camera shake․ These components enhance functionality, ensuring better image quality and ease of use․ Proper utilization of these features optimizes photography outcomes, making them essential for photographers seeking precision and control in various shooting conditions․
Benefits of Manual Lens Adjustment Over Autofocus
Manual lens adjustment offers creative control, precise focus, and better handling of challenging lighting or depth-of-field scenarios, surpassing autofocus in specific photographic situations for skilled photographers․
Enhanced Creative Control
Manual lens adjustment empowers photographers with precise control over focus, aperture, and composition․ By bypassing autofocus, users can make intentional artistic decisions, ensuring the subject stands out․ This method allows for selective focus, where the photographer dictates what grabs attention, enhancing storytelling․ Manual aperture control enables exact light management, crucial for achieving desired effects like bokeh or depth of field․ This level of customization fosters a deeper connection to the creative process, making each shot a deliberate expression of the photographer’s vision and intent․
Improved Precision in Specific Shooting Conditions
Manual lens adjustment excels in challenging environments where autofocus may falter․ In low-light scenarios, manual focus ensures sharpness by allowing precise adjustments․ When shooting through obstacles like glass or fences, manual control prevents focus hunting․ For macro or close-up photography, it enables fine-tuned detail capture․ Additionally, in situations with multiple subjects, manual adjustment avoids incorrect focus points, delivering accurate results․ This precision is invaluable for photographers seeking to overcome common autofocus limitations and achieve optimal image clarity in demanding conditions․
Step-by-Step Guide to Manually Adjusting Your Camera Lens
Master manual lens adjustment by using the focus ring for precise clarity, the aperture ring for exposure control, and the zoom ring for framing․ Practice live view focusing to enhance accuracy and explore manual modes for creative control․
Setting Up for Manual Focus
To set up for manual focus, switch your lens to MF mode and use the focus ring to adjust clarity․ Ensure stable lighting and use live view for precision․ Focus past your subject, then back for accuracy․ Enable focus peaking if available for clearer visibility․ Use a tripod to minimize movement and experiment with focus bracketing for extended depth of field․ This setup allows creative control and precise results, especially in challenging lighting or when autofocus struggles․
Using the Focus Ring Effectively
The focus ring allows precise manual adjustment of your lens, enabling you to control the in-focus area․ Rotate it clockwise or counterclockwise to shift focus closer or farther․ For sharp results, use focus peaking or magnified live view․ Practice focus bracketing to extend depth of field․ In low light, set the aperture wide and adjust slowly․ Combine with a tripod for stability․ This technique enhances control, especially in challenging conditions, ensuring your subject stands out with clarity and precision․
Adjusting Aperture for Desired Exposure
Aperture adjustment is crucial for controlling light exposure․ Set the aperture ring to the widest setting for focusing, then adjust to your desired f-stop․ A lower f-stop (like f/2․8) allows more light, creating a shallower depth of field․ A higher f-stop (like f/16) reduces light and extends depth․ Use the aperture mode switch for auto or manual control․ Combine aperture adjustments with ISO and shutter speed for balanced exposure․ This ensures optimal lighting and creative control in various shooting scenarios, from portraits to landscapes․ Experiment to achieve the perfect exposure for your vision․
Troubleshooting Common Issues with Manual Lens Adjustment
Address focus hunting by cleaning the lens or adjusting settings․ Resolve lens flare using a hood․ Calibration can prevent distortion and ensure precise focus for sharp images․
Resolving Focus Hunting Issues
Focus hunting occurs when the lens struggles to find focus, often due to low light or low-contrast subjects․ Clean the lens with a microfiber cloth to remove debris that might interfere with focus․ Ensure the focus ring is set to manual mode and avoid relying solely on autofocus․ Use live view or focus peaking to achieve precise focus․ Calibrate your lens to the camera body for optimal performance․ Adjust ISO and shutter speed to improve lighting conditions, reducing hunting․ Regularly update camera firmware to enhance focus accuracy and responsiveness․ Proper maintenance ensures smooth manual focus operation․
Dealing with Lens Flare and Distortion
Lens flare and distortion can degrade image quality․ Use a lens hood to block stray light and reduce flare․ Position the camera to avoid direct light hitting the lens․ For distortion, enable in-camera corrections or use editing software like Adobe Lightroom․ Polarizing filters can also minimize glare and enhance colors․ Clean the lens regularly to prevent smudges that might exacerbate flare․ Experiment with angles and composition to reduce distortion effects․ Proper lens maintenance and awareness of lighting conditions help mitigate these issues effectively, ensuring sharper, more accurate images․
Calibrating Your Lens for Optimal Performance
Calibration ensures accurate focus and aperture alignment․ Use tools like focus charts or calibration tools for precise adjustments, enhancing image clarity and overall lens functionality effectively․
Understanding Lens Calibration Process
Calibrating your lens ensures precise focus and aperture alignment․ This process involves using tools like focus charts to adjust the lens for optimal performance․ Start by setting the lens to manual focus and use a calibration tool or chart to fine-tune the focus accuracy․ Adjust the lens until the image sharpest, ensuring proper alignment with the camera sensor․ Regular calibration prevents focus errors and enhances image clarity․ It’s a straightforward process that requires patience and attention to detail for best results․
Tools and Techniques for Calibration
Calibration tools include focus charts, USB dock stations, and software like FoCal or Reikan․ Use a high-contrast chart placed at a 45-degree angle․ Set the lens to manual focus and use live view for precise adjustments․ Adjust the lens’s focus ring until the chart appears sharpest․ For electronic lenses, use the camera’s AF fine-tune feature․ Repeat at multiple focal lengths and apertures to ensure consistency․ Regular calibration ensures accurate autofocus and optimal image quality, especially for lenses prone to front or back focusing issues․
Maintaining Your Camera Lens
Regular cleaning with microfiber cloths and lens cleaning solutions prevents smudges․ Store lenses in a cool, dry place, away from direct sunlight, using protective cases to avoid damage․
Cleaning the Lens Properly
Cleaning your camera lens is essential for maintaining image clarity․ Use a soft, dry microfiber cloth to gently wipe away dust and smudges․ For stubborn spots, apply a few drops of lens cleaning solution to the cloth, not directly to the lens․ Avoid using tissues or paper towels, as they can scratch the glass․ Work in straight, gentle strokes, not circular motions, to prevent damage․ Regular cleaning prevents lens flare and distortion, ensuring sharp, clear photos․ Store the lens in a protective case to avoid dust and moisture exposure․
Storing the Lens to Prevent Damage
To protect your lens, store it in a dry, cool place away from direct sunlight․ Always use front and rear lens caps to prevent dust and scratches․ Place the lens in a protective case or pouch to avoid accidental damage․ Avoid exposing the lens to extreme temperatures or humidity, as this can affect its optical performance․ Clean the lens thoroughly before storage to prevent smudges from setting in․ Proper storage ensures your lens remains in optimal condition, ready for precise manual adjustments when needed․
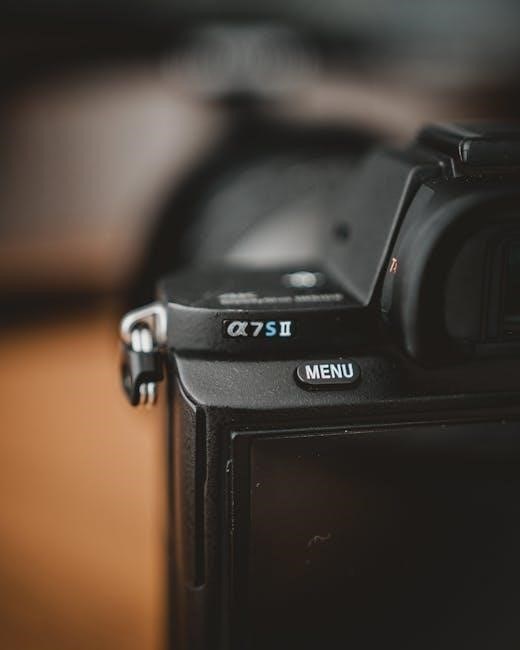
Camera Settings to Enhance Manual Lens Adjustment
Adjust ISO and shutter speed to achieve desired exposure, complementing manual focus and aperture settings for precise control over image clarity and lighting conditions․
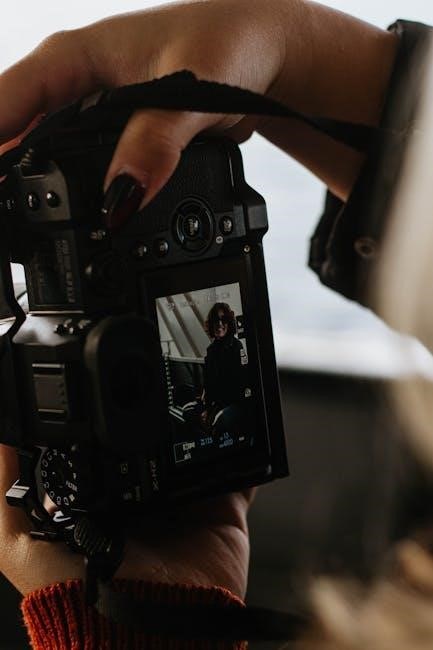
Using Live View for Precise Focus
Enable Live View on your DSLR to preview the sensor’s capture on the LCD․ Zoom in on the preview for accurate focus adjustment using the lens’s focus ring․ Use a wide aperture initially for a shallower depth of field, then stop down if needed․ Utilize Focus Peaking to highlight in-focus areas․ Stabilize the camera with a tripod to prevent movement․ Ensure Manual Focus mode is active․ Adjust lighting and ISO settings for clarity․ Take time to focus carefully for sharp images․ These steps enhance focus precision using Live View and manual adjustments․
Adjusting ISO and Shutter Speed
ISO and shutter speed adjustments complement manual lens settings, optimizing image exposure․ Lower ISOs reduce noise, ideal for bright lighting․ Higher ISOs enhance sensitivity in low light․ Shutter speed controls motion blur—faster speeds freeze action, slower speeds create blur․ Use Manual or Aperture Priority modes for precise control․ Pairing ISO and shutter adjustments with aperture settings ensures balanced exposure․ These tweaks enhance overall image quality, allowing photographers to achieve desired artistic effects while maintaining technical accuracy․ Proper adjustment of these settings is crucial for capturing sharp, well-lit images in various conditions․
Using Lens Filters with Manual Adjustment
Lens filters enhance image quality by reducing glare, improving contrast, and managing light․ Neutral density (ND) and polarizing (PL) filters are common, offering creative control during manual lens adjustments․
Types of Filters and Their Effects
Filters like neutral density (ND), polarizing (PL), and ultraviolet (UV) enhance image quality․ ND filters reduce light for motion effects, while PL filters minimize glare and boost contrast․ UV filters protect lenses and reduce haze․ Color graduated filters balance exposure between sky and land, and close-up filters enable macro photography without specialized lenses․ Each filter type serves unique purposes, helping photographers achieve desired visual effects during manual lens adjustments for optimal creativity and technical precision in their work․
When to Use Filters for Better Results
Filters are most effective in bright daylight to reduce glare or enhance colors․ Use polarizing filters to minimize reflections in water or glass․ Neutral density filters are ideal for controlling light in bright conditions, while UV filters protect the lens from scratches․ Apply color graduated filters during sunrise or sunset to balance exposure between the sky and foreground․ For portraits, use diffusion filters to soften facial features․ Filters are also useful in low-light conditions to maintain image clarity without overexposing the scene, ensuring optimal results during manual lens adjustments․
Advanced Techniques for Manual Lens Adjustment
Explore focus bracketing for extended depth of field and manual focus in various shooting modes to achieve precise control over image clarity and composition;
Focus Bracketing for Extended Depth of Field
Focus bracketing involves capturing multiple shots at varying focus points, later merged to extend depth of field․ This technique is ideal for landscapes or macro photography, ensuring sharpness across images․ By manually adjusting the focus ring, you can achieve precise control over the in-focus areas․ Use this method to overcome the limitations of a single aperture setting․ Experiment with different intervals and merge the images in post-processing for stunning results with unparalleled depth and clarity․
Manual Focus in Different Shooting Modes
Manual focus offers versatility across various shooting modes; In Manual mode, you control aperture, shutter, and focus for full creativity․ Aperture Priority mode lets the camera adjust shutter speed while you focus manually․ Shutter Priority mode works similarly, allowing manual focus with camera-adjusted aperture․ Even in Auto mode, manual focus can override autofocus for precise subject selection․ This adaptability ensures you maintain artistic control, regardless of the shooting scenario or lighting conditions, making manual focus a valuable skill for photographers seeking utmost precision and creative expression․
Mastering manual lens adjustment empowers photographers with precision and creative control, fostering a deeper understanding of light and focus for exceptional imagery and artistic expression․
Summarizing the Importance of Manual Lens Adjustment
Manual lens adjustment is a cornerstone of photography, empowering photographers to overcome autofocus limitations and achieve precise control․ It offers enhanced creative freedom, allowing for deliberate focus and exposure decisions․ This technique is particularly valuable in challenging lighting conditions or when capturing intricate details․ By mastering manual adjustment, photographers gain a deeper understanding of their lens’s optical mechanics, enabling them to produce imagery that aligns with their artistic vision․ It’s a skill that bridges technique and creativity, fostering professional-grade results․
Encouraging Practice and Experimentation
Consistent practice is key to mastering manual lens adjustment․ Start with stationary subjects to build muscle memory and gradually move to dynamic scenes․ Experimentation fosters creativity, helping photographers explore unique perspectives and lighting effects․ Dedicate time to understanding how aperture, focus, and zoom interact․ Use online tutorials and community feedback to refine skills․ Embrace trial and error as a learning tool, and keep a portfolio to track progress․ Regular practice ensures that manual adjustments become second nature, enhancing both technical proficiency and artistic expression in photography․
Additional Resources
Explore tutorials, forums, and guides online for mastering manual lens adjustments․ Websites like Photography Life and DPReview offer detailed insights and troubleshooting tips for photographers․
Recommended Reading and Tutorials
For in-depth learning, visit Photography Life and DPReview for comprehensive guides on manual lens adjustments․ Tutorials on YouTube by experts like Tony Northrup and Peter McKinnon provide practical insights․ Additionally, forums like Fred Miranda and 500px offer community-driven tips and troubleshooting․ These resources cover focus techniques, aperture control, and lens maintenance, helping you refine your photography skills․ They also include step-by-step instructions and real-world examples to enhance your understanding of manual adjustments․
Online Communities for Further Learning
Engage with online forums like Fred Miranda and 500px for detailed discussions on manual lens techniques․ Subreddits such as r/photography and r/learnphotography offer valuable insights and tips from experienced photographers․ Additionally, platforms like Photography Stack Exchange provide technical answers to common questions․ These communities are ideal for sharing experiences, learning from others, and refining your manual adjustment skills through collective knowledge and feedback․